Summary
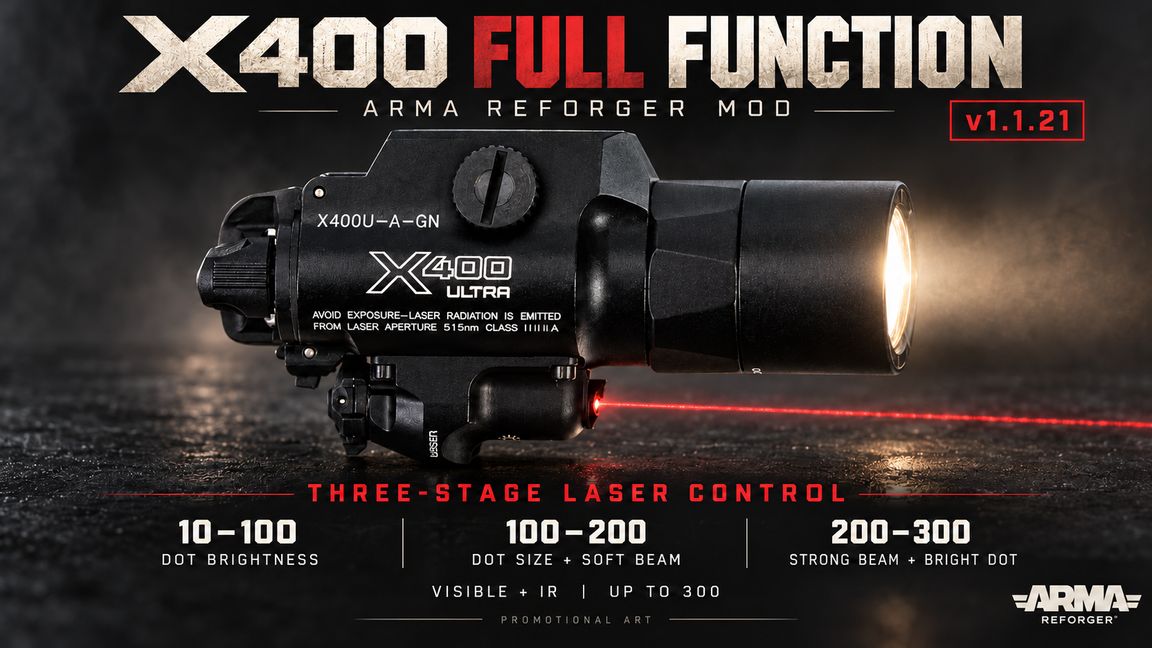
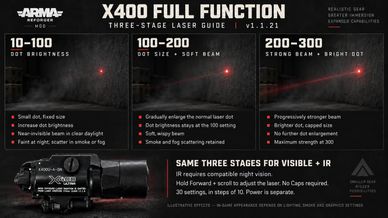
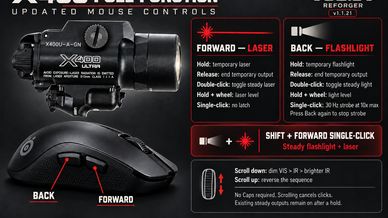
X400 v1.1.21: Forward = laser; Back = light / 30Hz strobe; Shift + Forward = steady dual. VIS/IR laser: 10-100 brightness, 100-200 dot size, 200-300 stronger beam + brighter capped dot.
Description
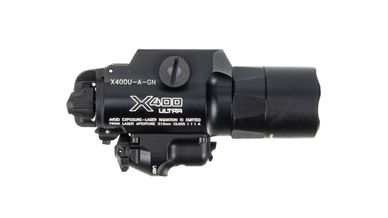
x400 model from
IR Laser Light Show-Tonic Edt
by cosmic10r


BIG THANKS & BIG SORRY
I'm really sorry for using your model files without permission. You can still take any action you want. But I really want to thank you, I truly appreciate your work. For commercial use of this mod or putting it on paid servers, you need to get permission from cosmic10r.

X400 Full Function - Controls (1.1.21)

Mouse Forward Button - LASER
Hold: Temporary laser only. Release to end temporary output.
Double-click: Toggle steady laser.
Hold + scroll: Adjust laser level.
Plain single-click: No steady-mode action; the brief temporary laser ends on release.

Mouse Back Button - FLASHLIGHT
Hold: Temporary flashlight only. Release to end temporary output.
Double-click: Toggle steady flashlight.
Hold + scroll: Adjust flashlight level.
Single-click: Continuous 30Hz strobe at 10x maximum flashlight intensity. Press Back again to stop; its release will not restart the strobe.
Previously latched outputs remain on when a temporary hold ends.

Shift + Forward Single-click - DUAL
Hold either Shift key before pressing Forward, then release Forward quickly (under 0.25 seconds) to turn on steady flashlight + laser and stop any strobe.
The chord does not produce temporary output or a normal double-click. Releasing Shift while Forward remains held cancels it. Adding Shift during a normal Forward hold cannot convert it into dual mode.
Scrolling takes priority over the chord and cancels its click. Long holds, overlapping buttons, menus and equipment changes cancel incomplete clicks. Release both side buttons before a fresh gesture.
Both side buttons + wheel adjust both channels; release any cancelled chord first.

Three-Stage Laser Control
Both visible and IR lasers use 30 powered settings, from 10 to 300 in steps of 10. Power is controlled separately.

10-100: DOT BRIGHTNESS
The normal aiming dot remains small and fixed in size while its brightness increases. The visible-light dot has a raised brightness floor for daytime aiming. The beam is designed to be near-invisible in clear daylight, faintly perceptible at night, and revealed by scattering in smoke or fog.

100-200: DOT SIZE + SOFT BEAM
Above 100, the normal laser dot gradually grows toward its size limit. Dot brightness remains at the 100 setting throughout this range. A soft, wispy beam gradually develops, with smoke/fog scattering retained.

200-300: STRONG BEAM + BRIGHT DOT
Above 200, the beam becomes progressively stronger and the dot brighter. Dot size stays capped at the 200 setting: it does not keep expanding into a large floodlight patch. Level 300 gives the strongest beam and brightest dot.

The transitions are smooth. Level 100 is the top of the dot-brightness stage; level 200 is the top of the dot-size stage. The stronger beam stage starts at 210.
Visible laser: red beam and impact dot. IR laser: visible only through compatible IR-capable night vision.
Beams follow the emitter and stop at walls and terrain, up to 250 metres. The 300 setting is an intensity scale, not a distance.
The inspection menu labels the current stage: Dot brightness, Dot size / soft beam, or Strong beam / bright dot.
Actual daytime visibility, night appearance and smoke scattering depend on distance, exposure, particle materials and graphics settings. Visual tuning and multiplayer validation remain in progress.
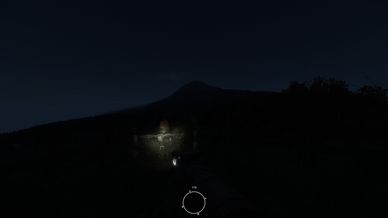
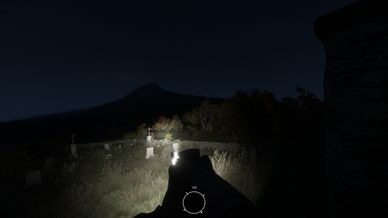
Gallery: v1.1.21 mouse controls and three-stage laser guide. Cover and guides are promotional illustrations; existing gameplay screenshots are retained.

Brightness - no Caps Lock required
Hold Forward + scroll: adjust laser brightness.
Hold Back + scroll: adjust flashlight brightness.
Scroll down: dim visible light -> IR -> increase IR brightness.
Scroll up: reverse that sequence, dim IR -> visible -> increase visible brightness.
Flashlight: VIS 10-300 / IR 10-300. Laser: VIS 10-300 / IR 10-300.
Using the wheel consumes that side-button click sequence, preventing accidental strobe or latch on release.
Brightness is saved automatically. IR requires compatible night vision.

Weapon Inspection Menu
Hold R to open the native inspection menu and select an X400 entry.
Double-tap F: enter/exit brightness adjustment, then use the wheel with the same VIS/IR sequence.
Hold F for 0.5 seconds: toggle the selected output. One operation per hold.

Attachment Wheel
Hold ' (apostrophe) for 0.35 seconds to open. Move the mouse to preview a mode.
Release within 5 seconds to confirm and close.
Hold for 5 seconds to keep the wheel open after release.
When pinned, left-click or press ' again to confirm; Esc/right-click cancels.
Bindings: Settings -> Controls -> Attachment Framework.

30Hz is the logical strobe rate; display accuracy depends on game frame rate and monitor refresh rate.
WIP: Code unchanged from 1.1.20, with 699 Workbench checks passed. Physical input, full mod-list loading, visual tuning and multiplayer validation remain pending.

Made by ChatGPT
License
Arma Public License (APL)