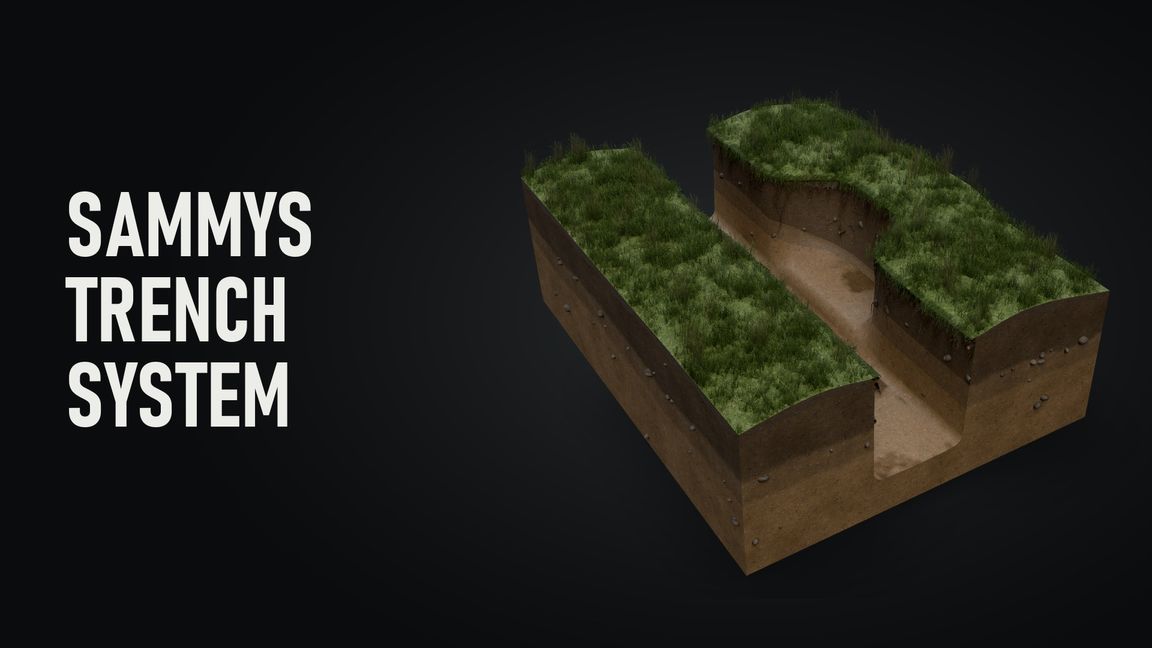
SAMMYS TRENCH SYSTEM

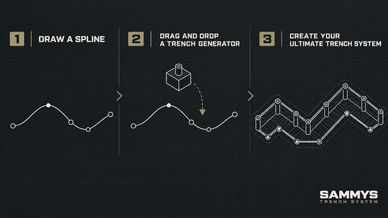
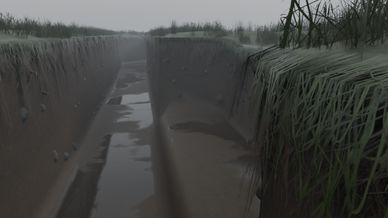
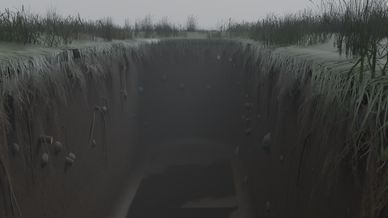
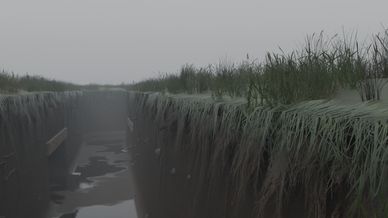
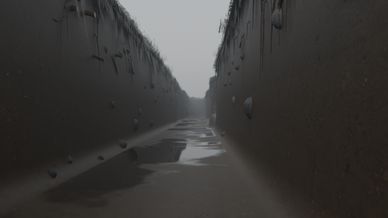
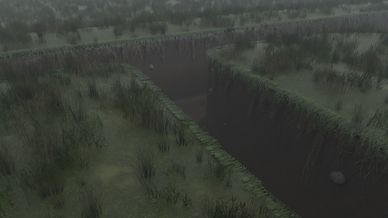
A modular trench kit plus a World Editor generator: draw a line, attach a generator, and a fully built, self-dug trench appears along it. A build-time tool for map makers in the Enfusion Workbench. The generator only runs in the editor; the trenches are ordinary prefabs and the digging is baked into your terrain.

WORK IN PROGRESS: CROSSINGS
Automatic X junctions (lines crossing) and T/Y junctions (a line ending against another) are still a big WIP and can bug out quite a bit: gaps, odd rebuilds, open arms. Straight runs, bends, branches and hand-placed modules are solid. If a junction misbehaves, nudge a point on the newer line, place the junction by hand, or turn Auto Crossings off.

QUICK START
1. Add Sammys Trench System as a dependency of your world project.
2. Create a SplineShapeEntity or PolylineShapeEntity and click your trench line onto the terrain.
3. From Prefabs/WEGenerators/Trenches drag a TG_Trench_ prefab onto the shape in the Hierarchy (it must be a child of the shape).
4. Done. The trench builds and digs itself. Move a point and it rebuilds; draw downhill and modules tilt with the slope.

PRESETS
- 01: plain fire trench, end cap and exit ramp.
- 02_Wiggle: alternating left/right doglegs so nobody fires down the line.
- 03_Bays: firing bays, wide bays, MG nests and funk holes mixed in.
- 04_Frontline: the full mix, mostly traverses plus bays, MG nests, funk holes, crossing points.
- 05_Strongpoint: half traverses, heavy on MG nests, bays and funk holes.
- 06_Comms: rear communication trench, straights, ramps at both ends.
Each has a _Sunken twin. Prefabs/WEGenerators/Trenches_NoDig has all twelve with terrain digging off by default.

ATTRIBUTES
- Ends: end cap, 4 m or 6 m ramp, or nothing.
- Pattern: wiggle share, variant chance, seed.
- Terrain Sculpting: on by default, each module digs about 2.25 m deep. Untick it and the ground goes back to grade; tick to re-dig.
- Fitting: follow slope, socket lock distance (2.5 m), anchored end.
- Crossings: auto X / T / Y junctions (WIP).

CONNECTING
- Branch: start a line within 2.5 m of a free socket facing your line (trench end, junction arm, dugout door) and it locks on.
- Tee / Cross: end a line against another or cross it at about 90 degrees and a junction is cut in (WIP). The older line keeps its layout.
- Free junction arms get an end cap until a line locks on.
- Move a hand-placed module and lines locked to it follow.
Every module shares one connector profile, so anything joins anything.

MODULES (Standard and Sunken)
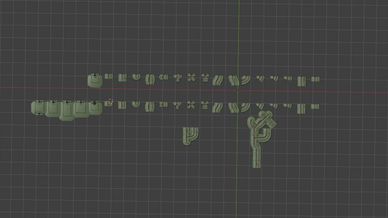
- Straights 2, 4 and 8 m plus visual variants
- Bends 15, 30, 45, 60, 90 degrees
- Doglegs 8 m left and right
- Firing bay, wide bay, MG nest, crossing point
- Funk hole 8 m (Standard for now)
- T, X, Y junctions and 45 degree skew tees
- End cap, ramps 4 m and 6 m
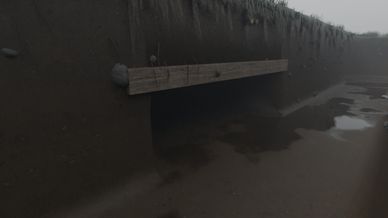
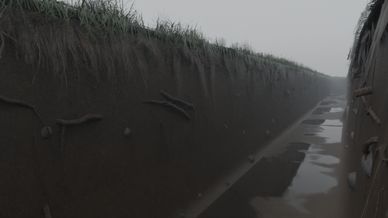
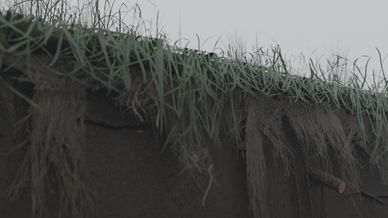
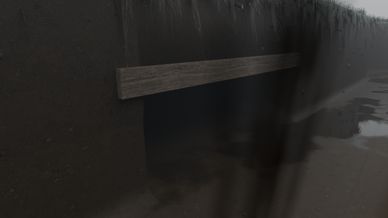
4 LODs, walkable colliders with dirt and grass surfaces, a grassy sod lip with hanging roots, and each module digs its own hole when placed by hand.

DUGOUTS (place by hand)
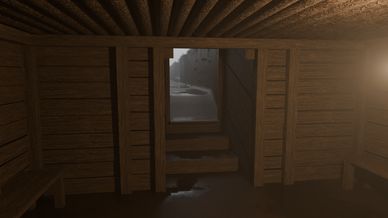
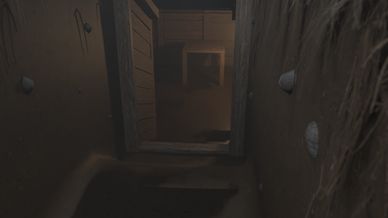
Single, small, L-shaped blast bend, large common room, barracks, command post, aid post, ammo store, a 12 m walk-through gallery that sits in the line, and a Sunken shelter. Timber framed with log ceilings and furniture, real interiors with indoor lighting and sound. They dig their own entrance; start a trench line at the doorway and it locks on.

VEHICLE PITS (place by hand)
Tank hull-down, APC revetment, SPG pit with a crew trench, and a covered shelter. Each has a drive-in ramp and digs itself.

STANDARD VS SUNKEN
Standard: open shells on dug ground, lightest. Sunken: closed tubs with their own floor, for rock, steep ground or no sculpting.

TIPS
- One generator per line. Draw the main line first, then branch.
- Edited the terrain? Nudge a point to re-dig.
- 4 m rhythm: round metre lines give the cleanest results.
- Keep crossings near 90 degrees with straight run either side.

Feel free to edit materials to match your scene.