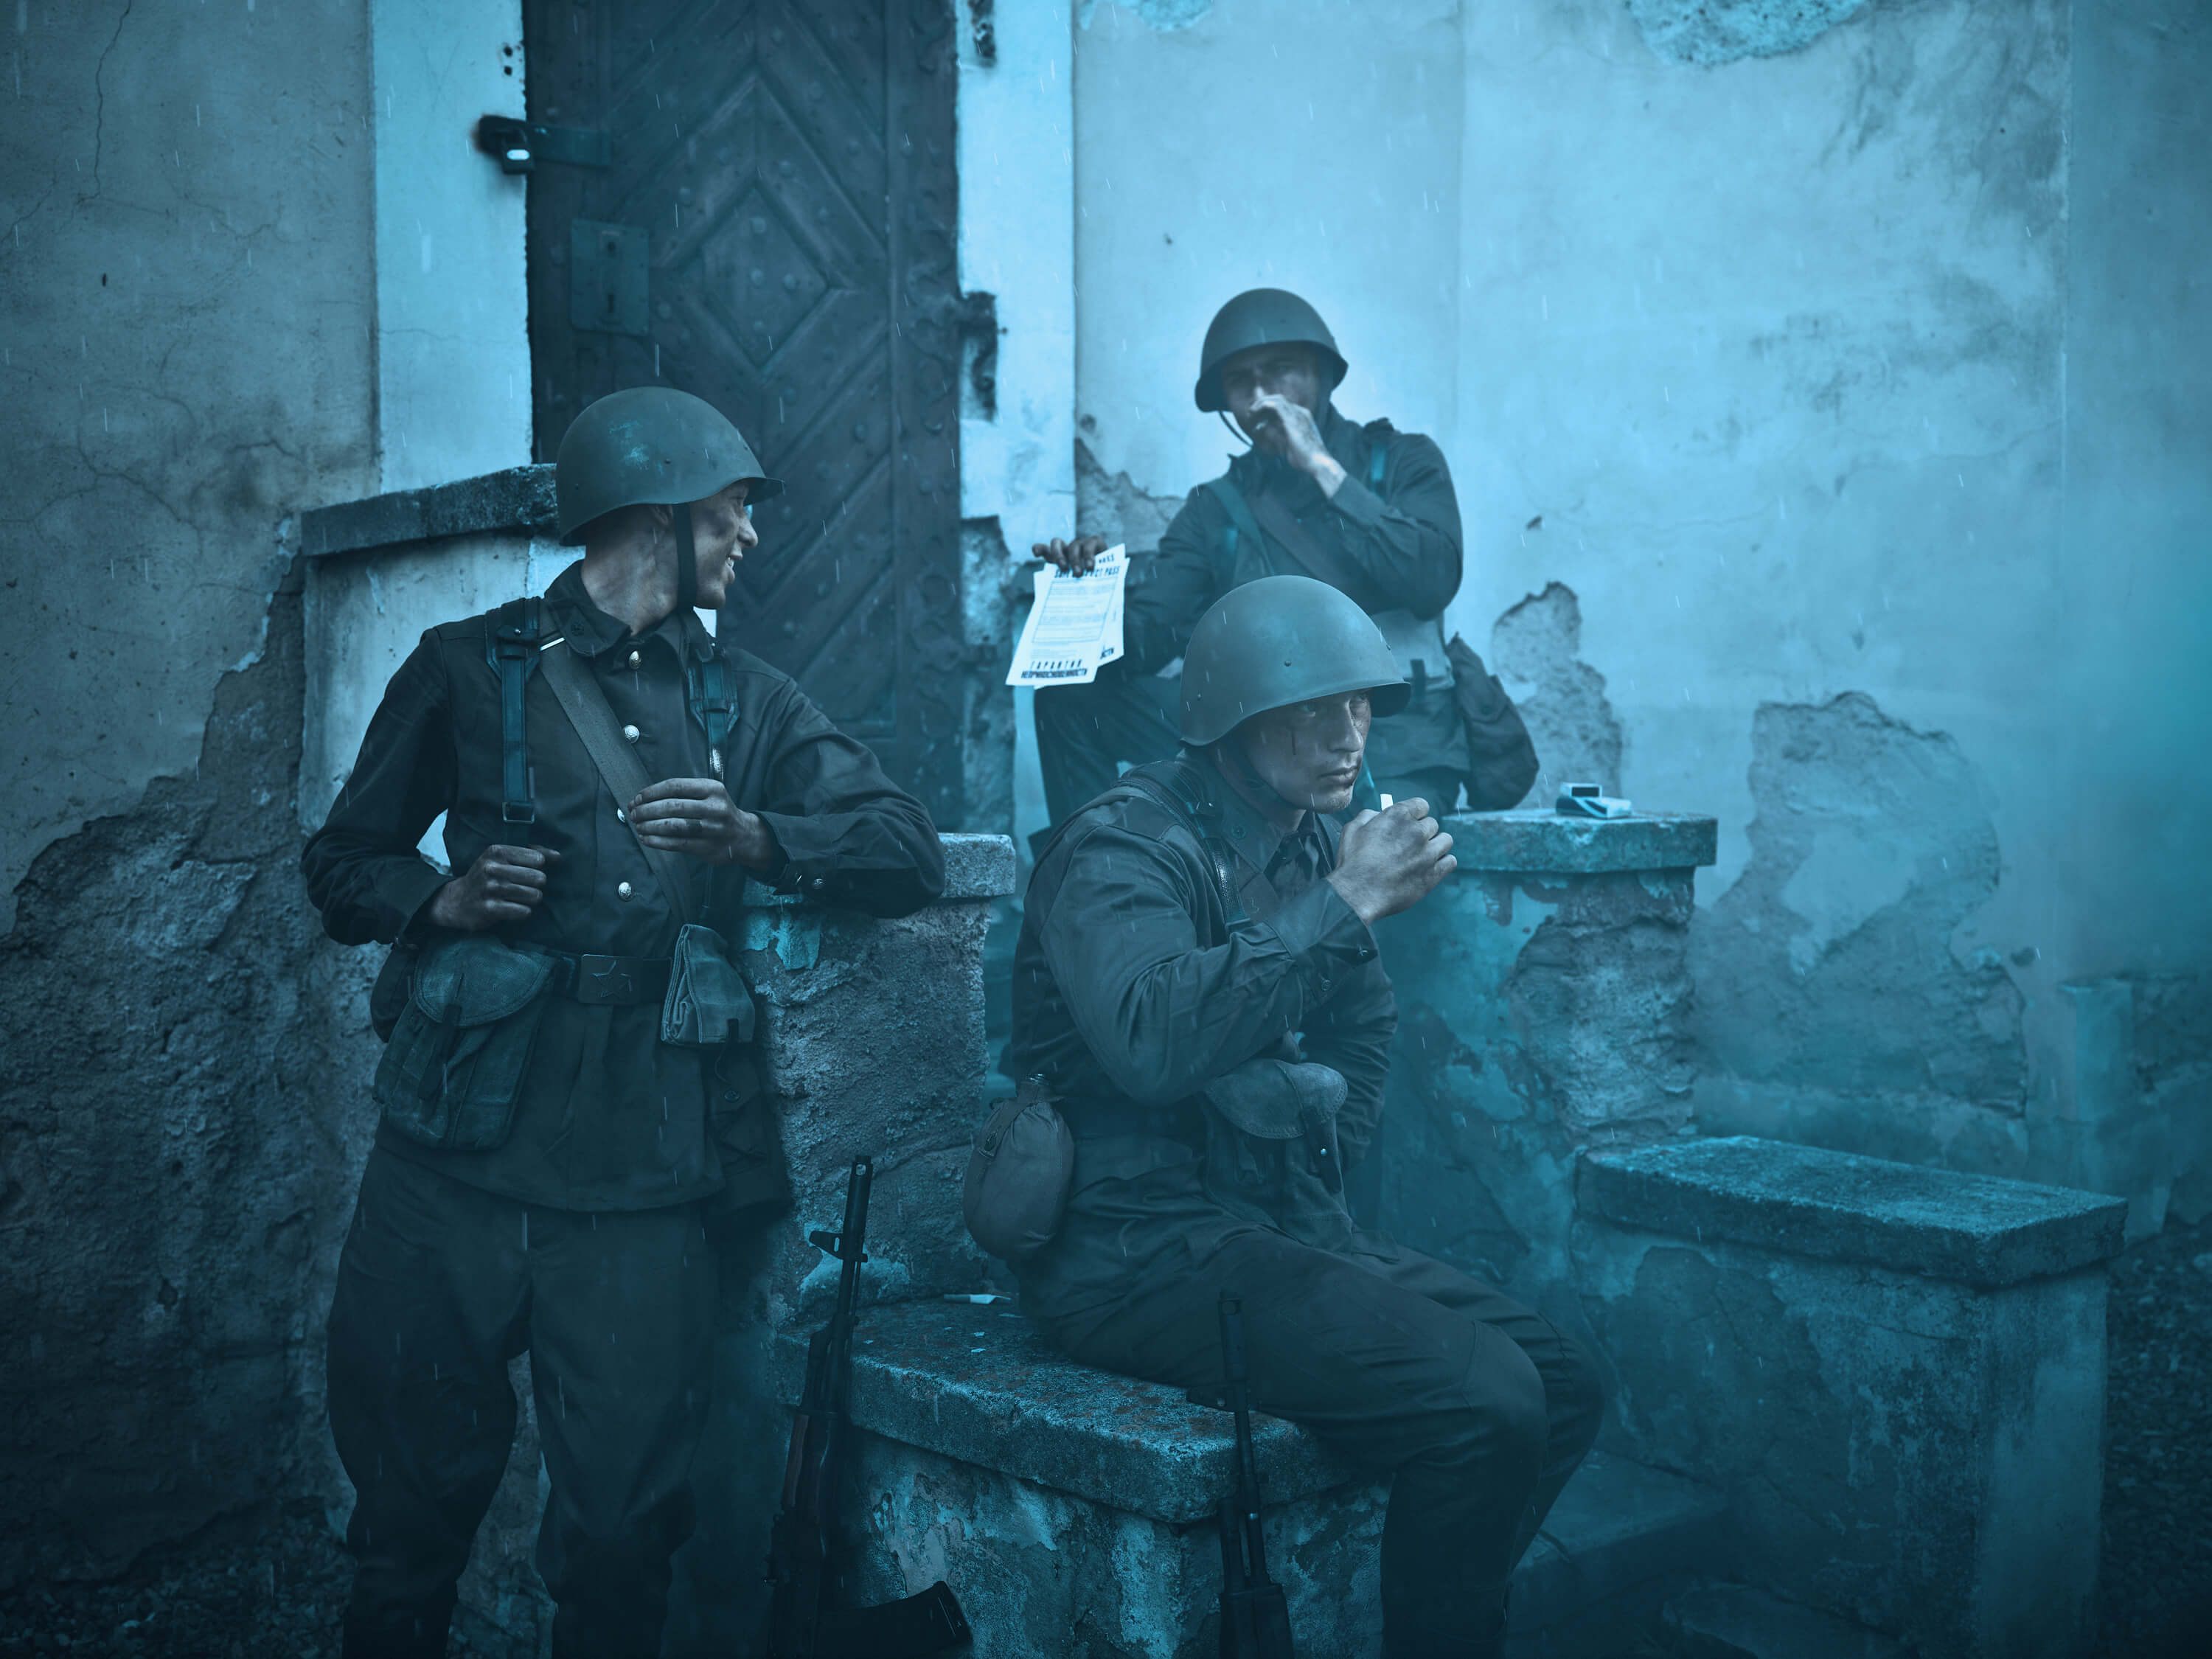
The goal of the this Boot Camp is to show step-by-step the creation of a clothing asset, how to bring it into Arma Reforger, and how configure it as a mod that you can share.
During this Boot Camp, we will be producing a helmet.
https://community.bistudio.com/wiki/Arma_Reforger:Character_Gear_Creation/Headgear
To start the process, grab the provided head basemesh from Github.
The creation of an asset for a game like Reforger is composed of six main stages:
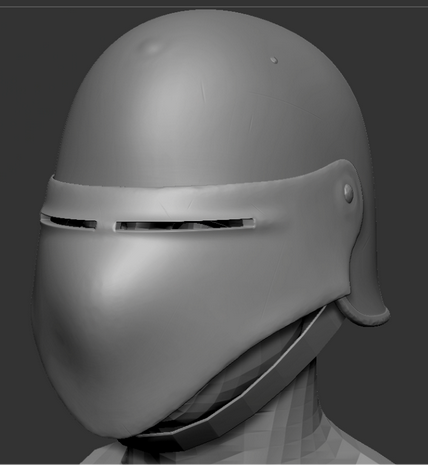
Highpoly
Timestamp: 01:24
The highpoly is a high density 3D model that holds all the surface details that we will want to transfer onto out Lowpoly during the baking process (usually created in software like ZBrush, although Blender has the similar sculpting capabilities so it can be used instead).
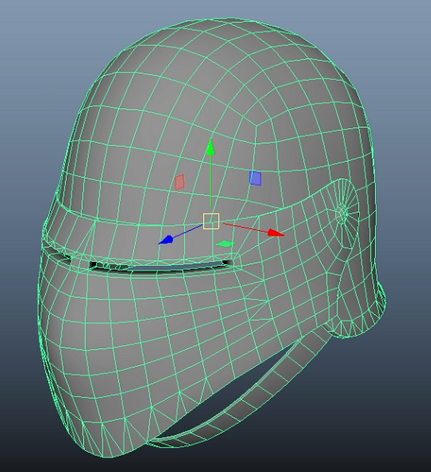
Lowpoly
Timestamp: 03:24
For this part we will be using Maya, but Blender can be used. The Lowpoly is a lower density representation of our original highpoly shape. We usually want the lowpoly to have somewhat “animatable” topology. What this means is we want equal sized quads in most parts of the model. Triangles can deform in unwanted ways, and Ngons will be triangulated once in the engine, and that triangulation can produce unwanted results.
It is always better to control the topology than letting algorithms do it. After the lowpoly is done we will need to create the LODs. LODs are copies of the original topology but with a lower polycount. These will be used at higher viewing distances. When looking at the model from further away some details will be invisible, so it doesn't make sense to render the fully complex model, so to save some performance we switch to lower density copies.
The naming of LODs are important. All of them need to have the same name followed by an underscore, and after that the number of their LOD.
Example:
Helmet_LOD0
Helmet_LOD1
...and so on.
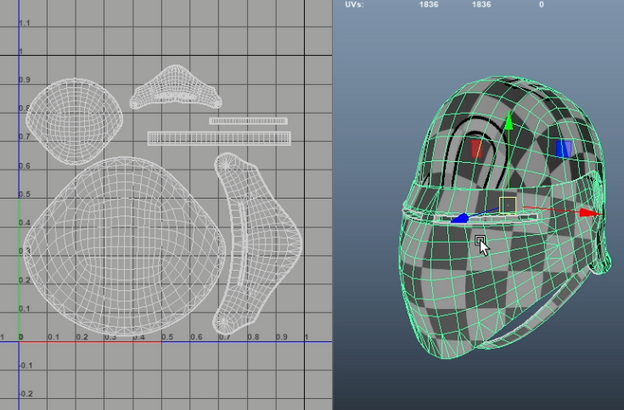
UV
Timestamp: 05:24
This part of the process creates a 2D representation of our asset so that textures can be mapped to its surface. We make the UVs inside Maya, but Blender can be used as well. We want to use as much of the UV space as possible and a good tactic is to make places of the model that are less visible smaller. In our case, the inside of the helmet is barely visible. Making the inside UV islands smaller makes them have lower resolution textures in the end, but the outer part earns a few more pixels.
Collider
Timestamp: 11:49
https://community.bistudio.com/wiki/Arma_Reforger:Enfusion_Blender_Tools:_Objects_Tools
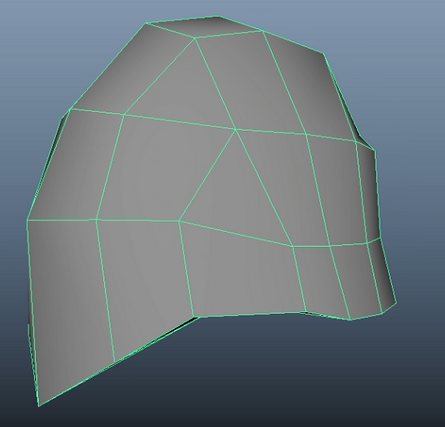
The Collider is used by the physics of the game. Without it, the asset wont be able to collide. If the clothing is not supposed to stop bullets (jackets, pants, etc.) a collider will only be needed for the item version. In our case we want the helmet to protect the character from bullet fire, so we will create a collider for it. A collider is a simple representation of the helmet shape - the lower topology the better. That is why we create a separate model with super low topology instead of using the original model itself. The naming of the collider is important as the initials of the name will tell the engine what kind of collider this is. Since we are using a “trimesh-collider” we will give it the initials of UTM.
Baking
Timestamp: 13:24
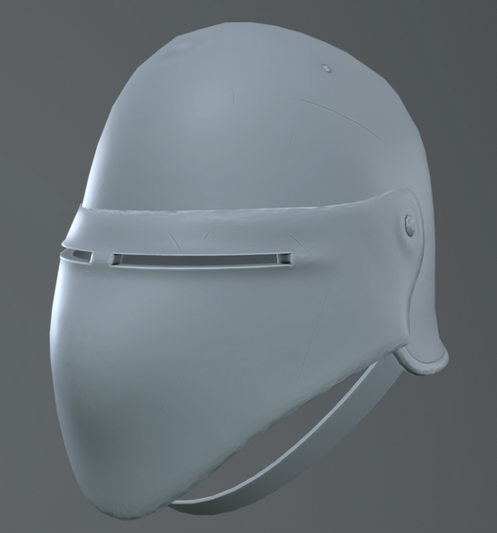
For this process we will be using the Marmoset Toolbag, but Blender can also be used. This process is done to transfer all our details from the highpoly onto the lowpoly. How this works is that for every polygon on the lowpoly a projection happens and a snapshot of the surface of the highpoly is created as a texture. What we end up is a sum of textures that we can use on the next part of the process.
What textures are usually useful to take from baking are:
Ambient occlusion
Curvature
Thickness
Mat ID
Normal
Texturing
Timestamp: 18:24
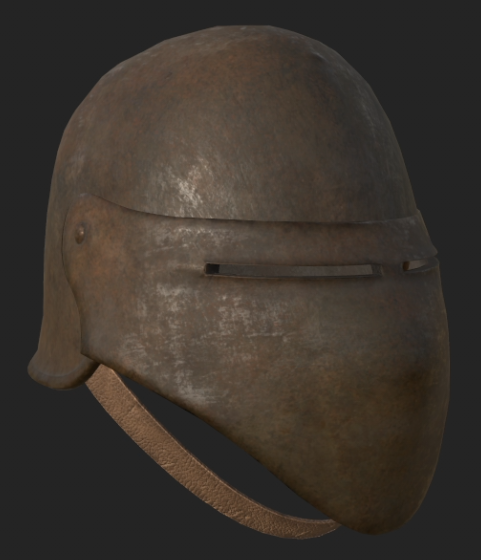
For this part we will use Substance Painter, but Blender can work. In this part of the process, we want to take all the textures that were created from the baking process to create some nice textures for out model. An ambient occlusion mask can be used to paint dirt into the crevices of the model, a curvature mask to create highlights, etc.
We will export two maps from out software. These are:
BCR (Color information in RGB, roughness in Alpha)
NMO (Normal information in RG, Metalness in B, and Occlusion in Alpha)
Importing Into Workbench
Timestamp: 22:24
Now that we have our model ready, it is time to start preparing it for importing inside the Enfusion Engine.
To start, we will need to put a rig on the model. The rig is what receives the animations and then moves the vertices of the model accordingly. What we need to do is to tell the rig which vertex each bone should move and by how much. This “how much” is called weights. The rigging of the skeleton and the weight-painting can be done in most 3D packages. We will use Blender for this part.
First, we will need to grab the skeleton from the template provided in the documentation.
Timestamp: 25:24
Take the model with the LODs inside Blender. Open the template in a separate project.
There are a few ways to create the weights. You can create them from scratch, transfer them from an already weight-painted model, and a few other methods.
We will transfer the weight from the model provided in the above template.
https://community.bistudio.com/wiki/Arma_Reforger:Character_Gear_Creation/Headgear/Asset_Preparation#Transfer_weights
Following the process shown in the documentation, we end up with a skinned asset.

Timestamp: 29:04
After that is done, we now have weights on our asset. We should go in and manually fix any issues that could have been created. Since we are making a helmet, we want the solid part of it to move as one. This means the top part will have to be skinned onto one bone. So make sure it is a such by selecting the Head bone and fully painting the top part of the helmet.
Lastly, we assign the skeleton to the model by creating a skeleton modifier and assigning our skeleton to it.
Timestamp: 33:42
Now that the model is ready, we will need to assign the collider to the rig as well. This process is much simpler as we just need to parent the collider to the bone that we want to control its movement, in our case the Head bone.
Timestamp: 37:24
We are ready to export the asset now. When exporting it is important to select everything that we will need. This means the rig, the model, the collider, and the empties that came with the skeleton.
Also under the export settings, look for the “Add lead bones” under the “Armature” tab and unselect it.
Timestamp: 38:24
After creating our mod and importing the FBX in it, there will be some settings that we will need to adjust. The orientation might need a fix which can be changed from the import settings of the model. A setting that we will need to check is the “Export Skinning” inside the FBX’s import settings to make sure the skeleton is imported. Finally, we will need to configure out collider’s layer. Go to "import settings" and on the very bottom look for the collider setting and set its Layer preset to “FireGeo." Also, set the Surface property material to you preference, depending on what ammunition you want it to be able to stop.
Creating the Prefab
Timestamp: 42:24
Now that the asset is inside the engine, we will want to equip it to a character. To do this we will need to create a prefab for it. To do so we will need to find the “Headgear_Base.et” prefab and create an inherited prefab inside our mod. After doing so, we can configure our model inside the “BaseLoadoutClothComponent”. (IMPORTANT, make sure you change the item attributes inside the “InventoryItemComponent” from the base class of “ItemAttribureCollection” to the extended scripted class “SCR_ItemAttribureCollection”).
